Ultima User Guide (c) Copyright by PaxeraHealth Corp. 2021
9.4.0. MPR/MIP Viewer
In this section the user will learn how to use the MPR/MIP viewer. Multi planar Reconstruction (MPR) enables images to be created from the original axial plane in either the coronal, sagittal, oblique, or curved plane.
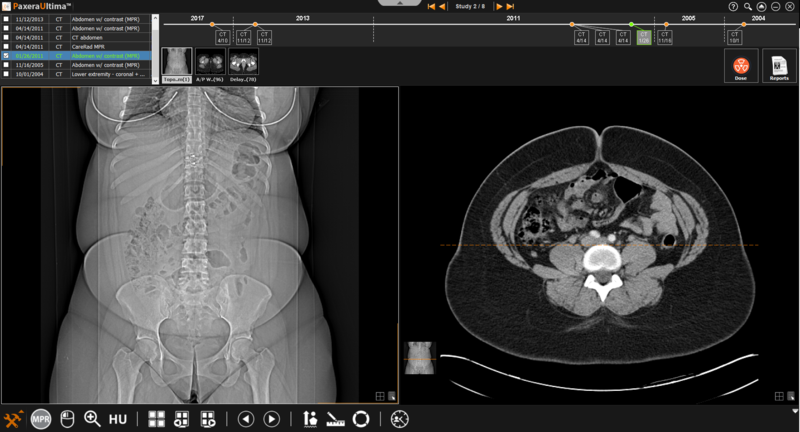
2D viewer
This is the standard viewing option that has been used thus far when explaining the study viewer.
MPR/MIP viewer
This is the MPR/MIP viewing option where the user can reconstruct the original projection into different planes.
MPR/MIP requirement
The study needs to have a sufficient amount of images to open in MPR/MIP mode (the minimum number of images per series that is required for MPR is made in image tool settings).
Follow the instructions below to access MRP/MIP view:
1. From the study viewer, click on the ‘Toolbox menu button located in the bottom left corner of the screen:
2. Click on the ‘MPR/MIP’ button near the bottom of the list:
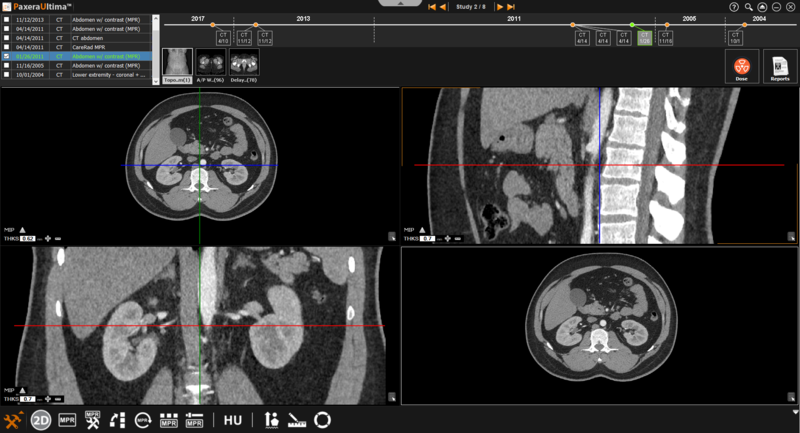
3. The study viewer will change into MPR/MIP mode, an overview of this mode and along with its tools are given below:
MPR Planes
The image windows will have colored lines that represent different planes as shown below:
MPR tools
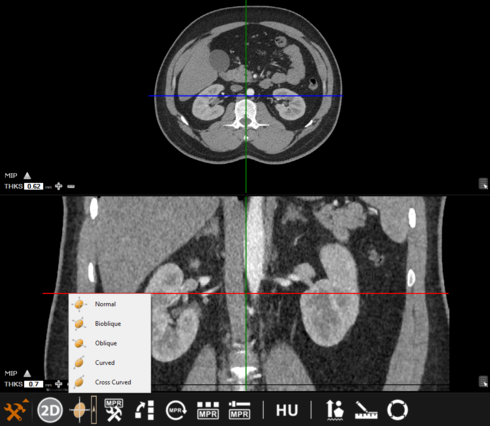
There are six icons available in MPR mode, an overview is given below:
MPR mode – there are five different modes to choose from (normal, bioblique, oblique, curved, and cross-curved).
MPR settings – this enables the user to see reference view (only available on normal and oblique modes); or to see panoramic view (only available for curved mode)
Generate MPR series – generates a new series using normal or oblique modes.
MPR reset – resets any action performed while in MPR mode.
Select MPR protocol – adjusts the viewing (hanging) protocol within the MPR viewer.
MPR fusion properties – enables fusion between two modality types (CT-PET or MR-PET)