Ultima360
User guide
×
Menu
Index

5.1.0. Import DICOM

 
The Import DICOM tool is used to import DICOM images from a local or remote location, including:
•      Directory this includes computer, CD/DVD, and flash storage   (click here)
•      Cloud storage  this includes Box, Dropbox, OneDrive and Google Drive   (click here)
•      Health Information Exchange (click here)
•      Remote Server for Query and Rretrieve   (click here)
 
To Import DICOM, follow the steps below: :
 
The main import window will appear with all the options for importing a DICOM file, an overview of these options is shown below:
 
5.1.0. Import DICOM
 
1
Import Options
Shows all the importing DICOM options and includes:
  • Directory - from local folder on computer or network, or CD drive
  • Dropbox, One Drive, Goodle Drive - are all cloud drive options
  • HIE - Health Information Exchange
  • Remote Server - for Query & Retreive
    1. Import Options
          Select the import option of interest
2
Click Browse
After choosing the import option of interest, click 'Browse' to start the process.
2. Click Browse
More information on each of these options are given in their respective sections, click here:  DirectoryCloud DriveHIE, Remote Server
Once you have found & loaded the studies of interest, continue with these instructions.
 
3
Study content preview
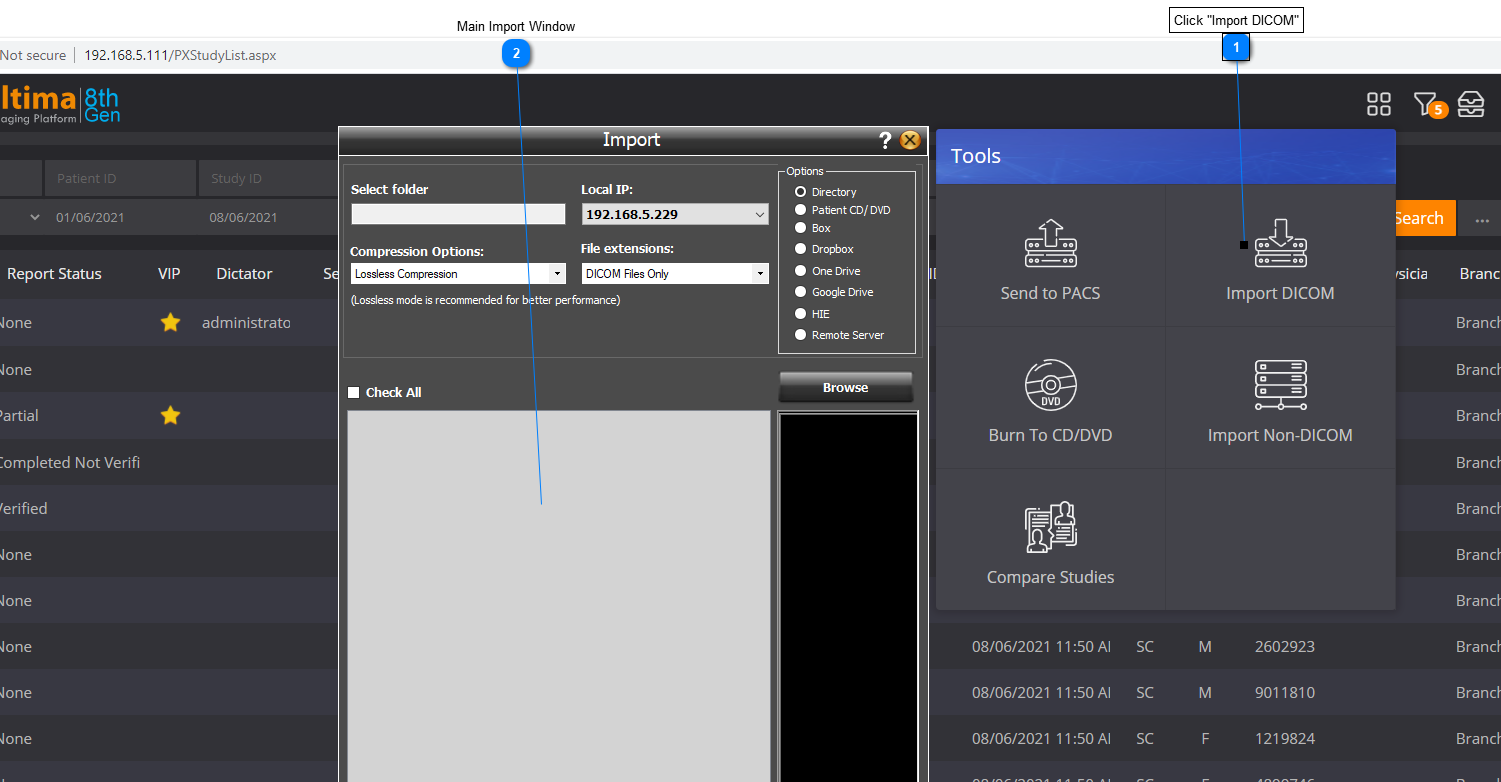
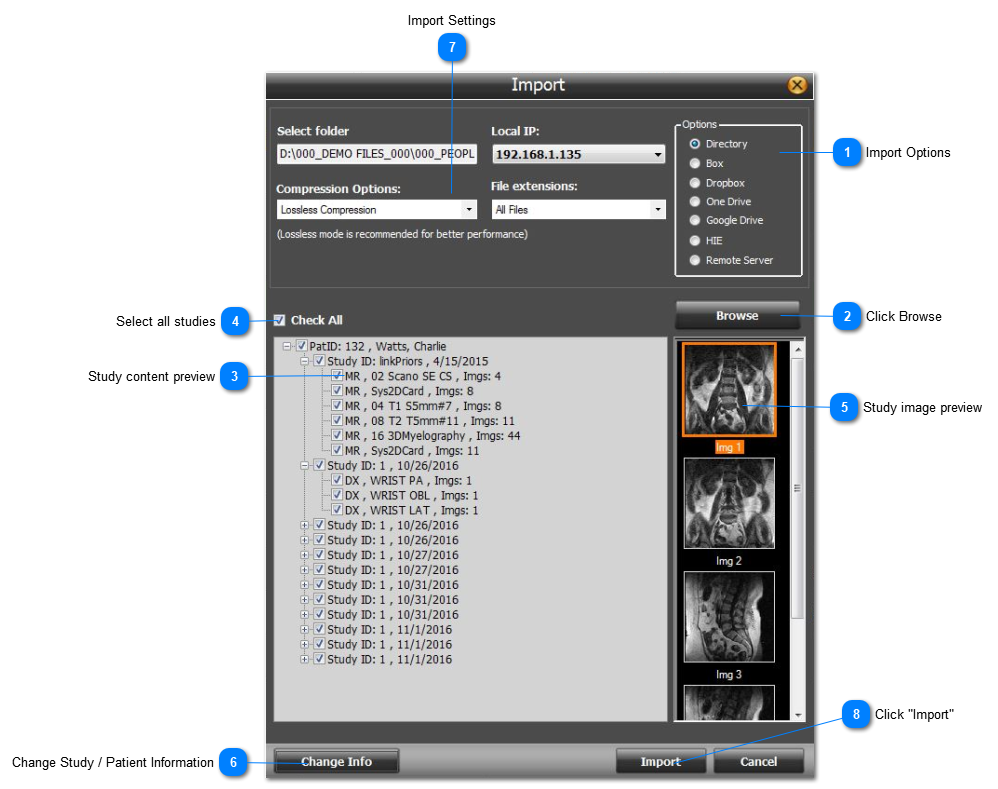
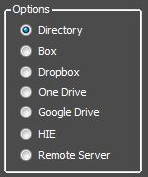
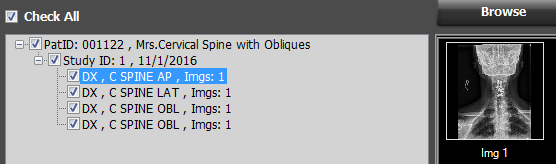
Once you have loaded the studies of interest,  (from a local directory, cloud drive, HIE, or remote host), the study content area will show a preview of everything that has been selected for importing.
 
Use the checkbox to select the studies / series to imported  (or "Check all - see below #4)
 
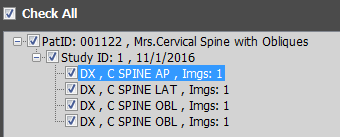
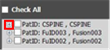
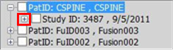
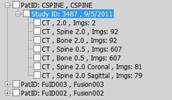
Click on the ‘+’ / '-'  buttons (next to the file description) to expand the view from patient -> study -> series, as shown below:
     
    Patient Level                       Study Level                                  Series Level
 
Study level - this level is used to edit any of the patient / study information before importing (see #6 below)
Series level - this level is used to preview the image before importing (see #5 below)
 
4
Select all studies
4. Select all studies
Once you have loaded the studies of interest, you can select the "Check All" checkbox to import all the selected studies.
 
5
Study image preview
To preview the study before importing - expand the Study Content Preview (see #4) and double click on one of the Series Level series.
 
 
6
Change Study / Patient Information
Expand the Study Content Preview with the '+' button and click on the Study Level:
 
Then click on the "Change Info" button
6. Change Study / Patient Information
 
7
Import Settings
Enables you to:
  • Select folder - enter directory URL
  • Local IP - Change the local IP
  • Compression Options - choose between "Lossless Compression" or "Original File"
  • File Extensions - choose between "DICOM files only" and "All Files"
     
7. Import Settings
 
8
Click "Import"
8. Click "Import"
Once you have selected all the studies to be imported, previewed the study, and changed any of the required study information - click "Import" to start the import process