Ultima User Guide (c) Copyright by PaxeraHealth Corp. 2021
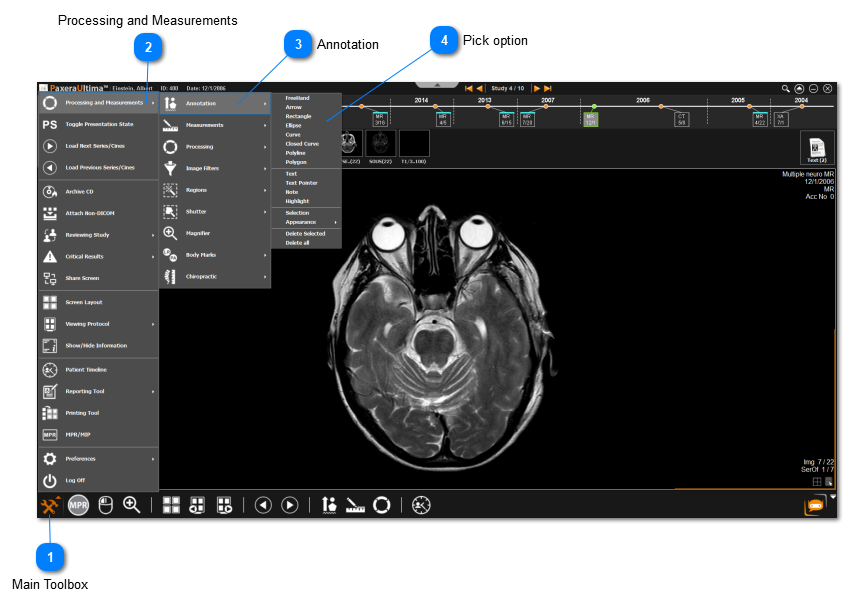
8.5.2. Annotations
Annotations are used to create markings or to add text to an area in the image.
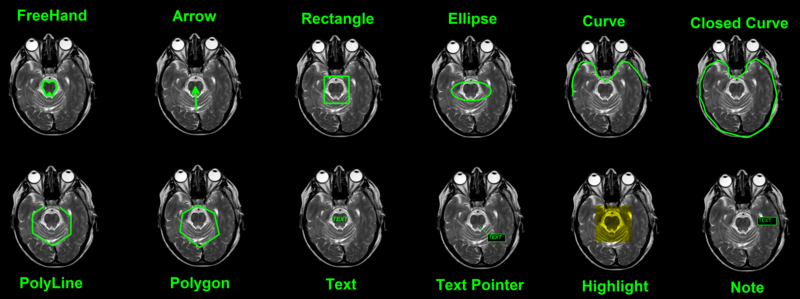
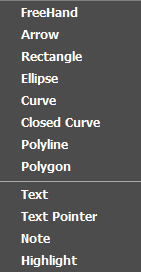
Examples of the different annotations available:
Freehand
Click and drag mouse to draw freehand region of interest
Arrow
Click and drag mouse to create arrow head with a tail.
Rectangle
Click and drag mouse to create rectangle
Elipse
Click and drag mouse to create ellipse
Curve
Hold in mouse click for first curve, and then click every time the curve angle changes, right click to end the curve
Closed curve
Hold in mouse click for first curve, and then click every time the curve angle changes, right click to end the curve and the curve will close
Polyline
Hold in mouse click for first line, and then click every time to create new lines, right click to end the polyline
Polygon
Hold in mouse click for first line, and then click every time to create new lines, right click to end the polyline and the polygon will close
Text
Click and drag mouse to create a text box
Text pointer
Hold in mouse click and drag mouse to create a text box and then click on region to create a pointer to that region
Highlight
Click and drag mouse to create highlighted area
Note
Click and drag mouse to create a text box with border
To learn how to use edit the appearance of the annotations, including the color of the annota- tion, color of the text; font size, font appearance; and line thickness.
Main Toolbox
Click on the Main Toolbox from the bottom left corner.