To properly display this page you need a browser with JavaScript support.
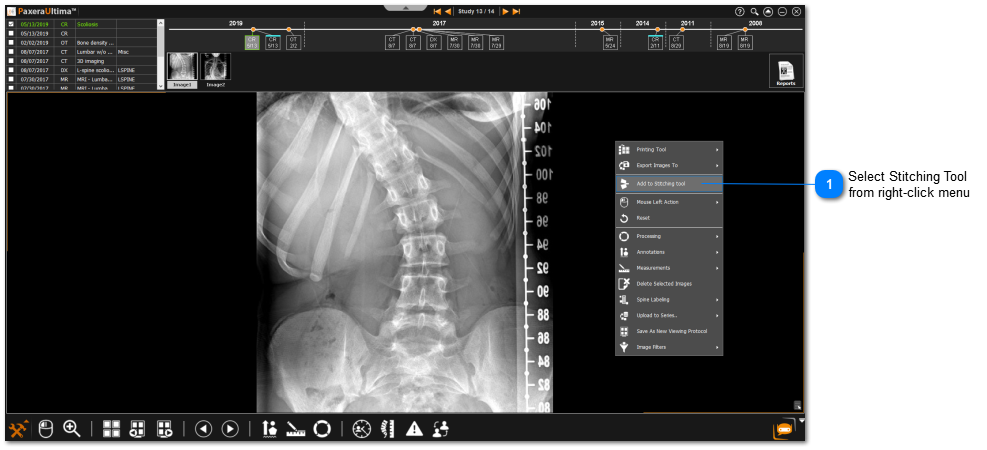
This tool is used to stitch multiple images together as a single image. Image stitching is commonly used for scoliosis studies.
To learn how to use this tool, see the instructions below:
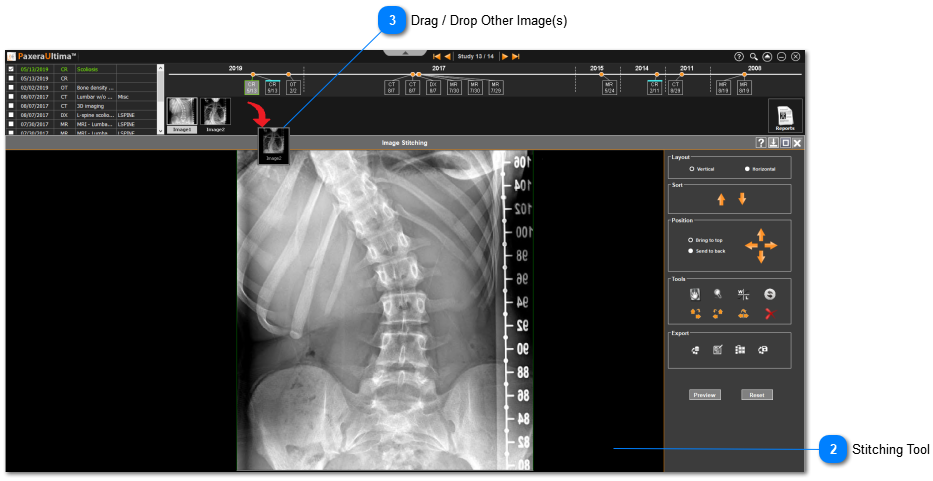
Tools on Image Stitching Menu:
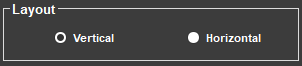
Choose Layout Choose the orientation of your images (vertical or horizontal).
Sort Images Up / Down Click on the up / down arrows to sort your images to the top or bottom in the window.
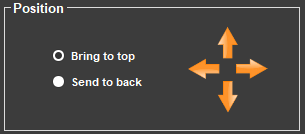
Adjust Image Position Select between: Bring to Top or Send to Back to move your images forward or backwards in the window.
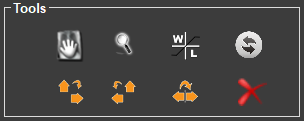
Manipulate Image(s) Use any the these tools to manipulate your image(s):
Pan the image using the left-click button on your mouse and dragging the image.
Zoom into the image using the left-click button on your mouse and moving the mouse up / down.
Change the
WW/WL of the image using the left-click button on your mouse and moving the mouse up / down and left / right.
Freely rotate the image by holding down the left-click button on your mouse and moving the mouse in a circular motion.
Rotate the image
90 degrees clockwise (+90 degrees).
Rotate the image
90 degrees counterclockwise (-90 degrees).
Flip the image across the horizontal (x) axis.
Remove the selected image from the stitching window.
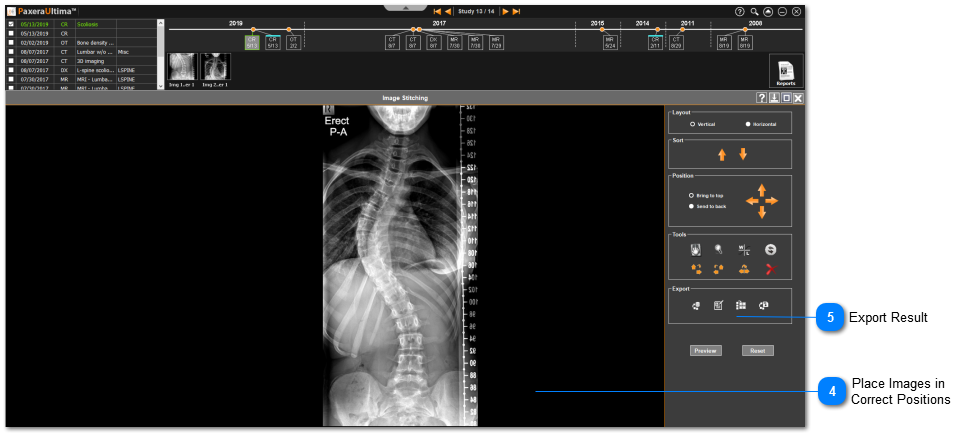
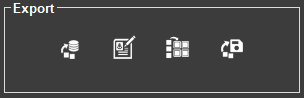
Export Result Export the result using any of these methods:
Upload the result as a new series.
Send the result to the reporting tool.
Send the result to the printing tool.
Save the result as a DICOM, Bitmap, JPEG, TIFF file.
Reset Window Click 'Reset' to reset the image stitching window.
Preview Result Click 'Preview' to preview the result in the image stitching window.