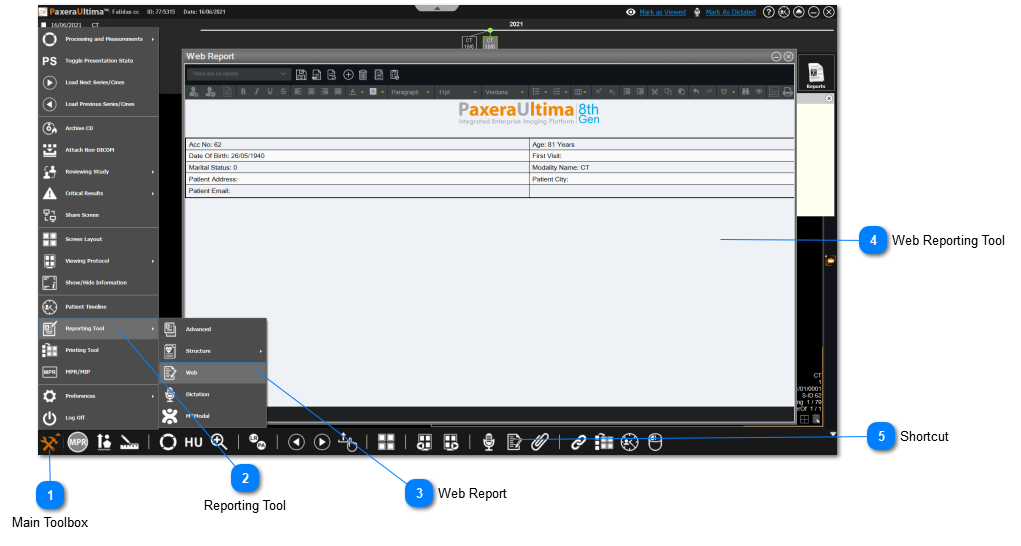
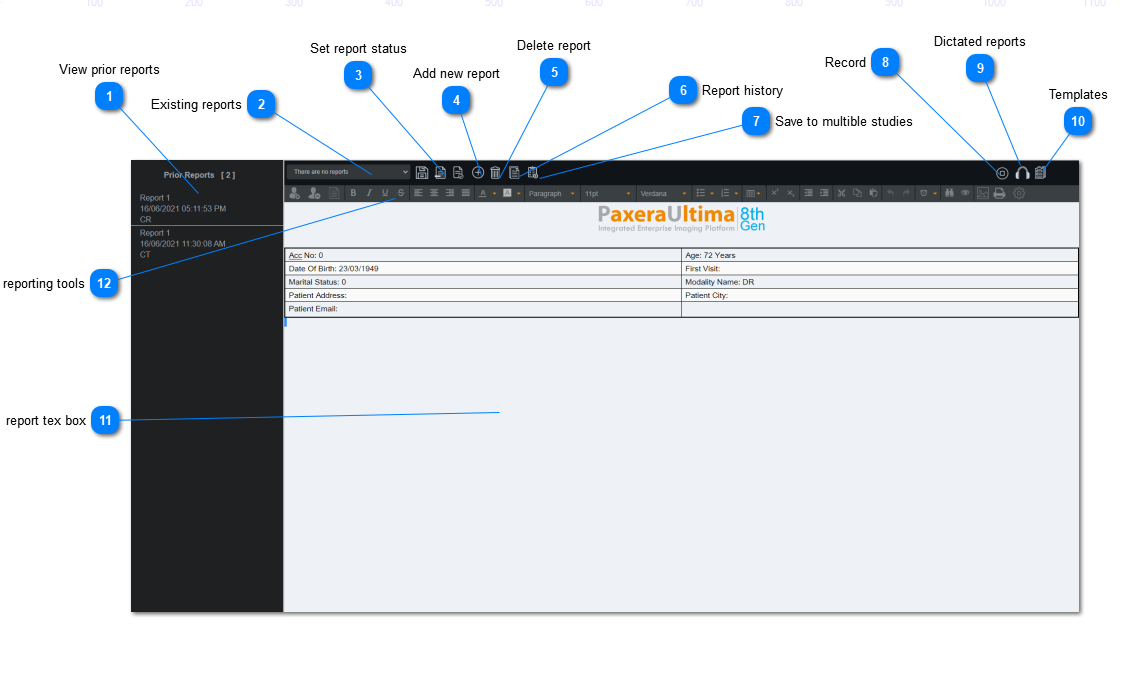
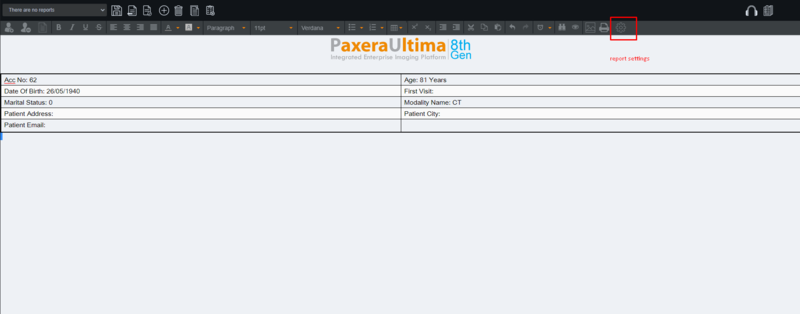
The basic reporting tool will open, an overview of it is given below:
To create a report, follow the instructions below:
Optional: load an existing template from the appropriate section in the templates folder
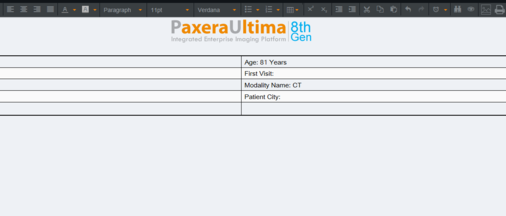
Optional: insert the header (report logo and table) at the top of the report by clicking on from the reporting tools. You can remove the header by clicking on . You can customize the report logo and table in report settings; see the next section to learn how to customize the report header.
If you are using dictation software such as Nuance Dragon or MModal Fluency Direct, simply plug in the mic, turn the mic on, and start speaking into the mic. This should automatically convert voice to text onto the report. You can use the software voice commands to navigate through the report such as 'Go Down', 'Next Line', 'New Line', etc.
If you are using the dictation tool on the web report, click on the record button
Click on the 'Save' button when you are done with your recording.
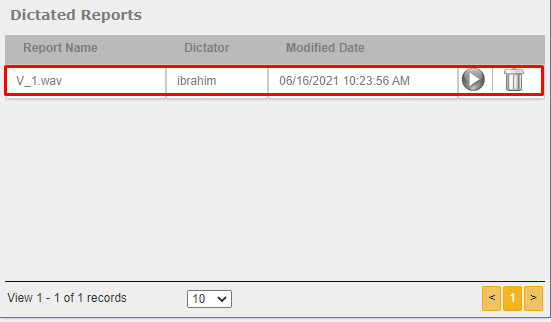
Your recording will be saved automatically. Click on the 'dictated reports' button to view / listen to your recordings.
You can set the report status from partial report, to complete not verified, to verified.
Report Settings:
You can access the report settings by clicking of the settings button from the reporting tools.
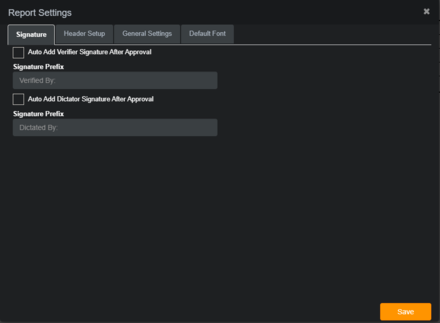
There are four sections to the web report settings:
Signature
Report Header
Header Setup
General Settings
Signature tab: create settings for verifier and dictator signatures after approval.
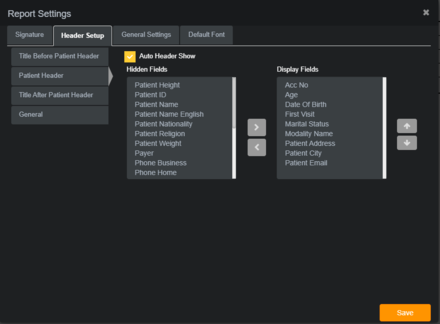
Report Header: customize the table of patient / study information that populates at the top of the report.
Use the right and left arrows to show / hide fields on the displayed table.
Use the up and down arrows to change the order of the fields on the displayed table.
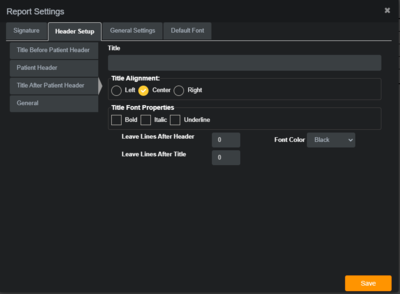
Header Setup: customize the report title (before and after header) and title alignment / font / color / etc.
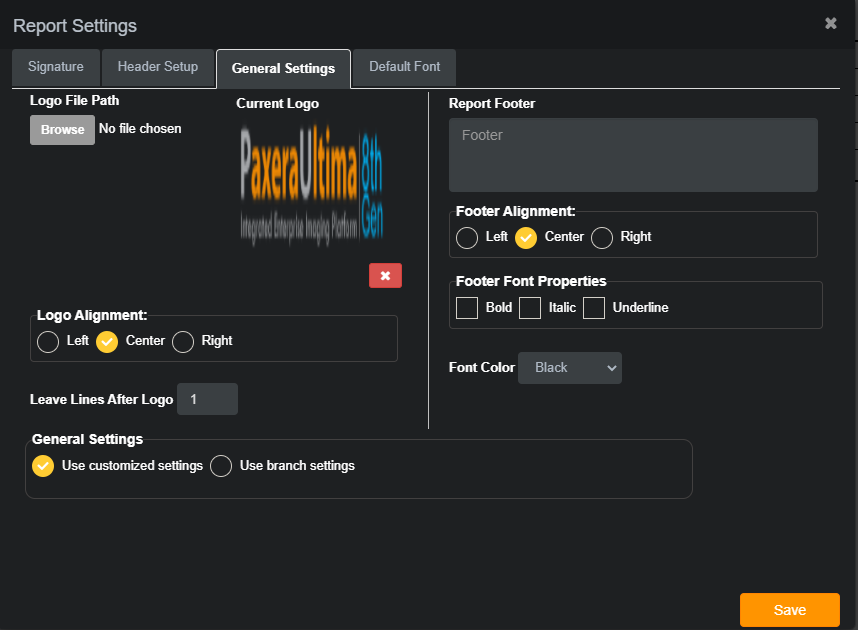
General Settings: customize the report logo and footer text. You can also choose which settings (branch-based or customer-based) to be applied.